
Soft, buttery and sweet these snowflake cookies are perfect for the holiday season. The cookies are easy to make, they don't spread and the icing is fool proof.

I just love the cornflower blue color of this icing, don't you? It really adds a certain something extra special to the look of the snowflake cookie.
These festive cookies are perfect for classroom parties, workplace treats or just because you want to bake something special for the season.
Jump to:
What makes this recipe so yummy
- Good news - these cookies don't need refrigeration, they do not spread in the oven while baking so it really cuts the time out.
- The royal icing is also food proof, I'm actually not the best when it comes to cookie decorating so this icing actually makes it a little easier for a beginner.
- These snowflake cookies are perfect for a cookie exchange.
Snowflake Cookies Ingredients

- Unsalted Butter
- Powdered Sugar
- Egg
- Vanilla Extract
- All Purpose Flour
- Baking Powder
- Salt
- Meringue Powder
- Water
- Cornflower Blue Gel Food Coloring
See recipe card at the bottom of this post for quantities.
Recipe walkthrough: Instructions
This is an overview of the recipe steps. For more detailed instructions visit the recipe card at the bottom of this post.
- Step 1: Preheat your oven to 400°F.
- Step 2: Add 1 Cup Butter to the mixing bowl of a stand mixer.
- Step 3: Add the 2 Cups Powdered sugar and mix with the paddle attachment until fluffy - about 3-5 minutes.
- Step 4: Add the vanilla and egg and mix again until incorporated.
- Step 5: In another medium mixing bowl, add the flour, salt and baking powder. Mix with a whisk and gradually add to the butter mixture while on low speed.
- Step 6: Once the cookie dough has come together, using your hands knead a little in the stand mixer bowl then split in two. Wrap the one half of cookie dough in plastic wrap and set aside.
- Step 7: The other roll out on a lightly floured surface, with a rolling pin, until about ¼" thick. Using a snowflake cookie cutter cut out the shapes and transfer to a cookie sheet lined with parchment paper.
- Step 8: Take the scraps and roll out again, repeating until that first batch has filled up the cookie sheet. The cookies should be 1" apart.
- Step 9: Bake in the oven for abuot 6 minutes, or until the edges start to lightly brown.
- Step 10: While those cookies are baking you can repeat with the second batch on another cookie sheet. Once that first batch comes out, bake this one for 6 minutes again.
- Step 11: Allow the cookies to cool a few minutes then place on a cooling rack to cool completely.
- Step 12: Wash the bowl and paddle for your next step.
- Step 13: Add the powdered sugar and meringue powder to the stand mixer bowl. Mix with the paddle a few times to mix up.
- Step 14: Add the vanilla and water, until a good royal icing consistency is reached. It should be almost runny. Enough so that when you lift the paddle up, the icing that falls back into the bowl holds its shape on top for about 5 seconds, before melting into the rest.
- Step 15: Add half of this icing to one piping bag and tie the end.
- Step 16: Add the blue food color to the remaining icing and mix well. Add this to another piping bag.
- Step 17: Snip the tip so that only a small hole shows, so that the icing can be squeezed out slowly (or use a #1 icing tip).
- Step 18: First pipe the icing around the outside of the cooled cookie. Then flood the inside. Use a toothpick to help move the icing around.
- Step 19: Then take the opposite color and pipe the shape of a star over the top of the other dried icing.
- Step 20: Allow to dry for a few hours before trying to stack on top of each other.
Hint: Make sure the butter is totally at room temperature (softened) before mixing in the powdered sugar. It will help get it fluffy. If it's too cold you can always microwave for just a couple of seconds.
Recipe variations and substitute ideas
- Gingerbread Cookies - instead of a sugar cookie you could make gingerbread cookies - just cut out and decorate the same.
- Cream Cheese Frosting - Top with a cream cheese frosting instead.
- Egg Whites - instead of the meringue powder, you could use egg whites and lemon juice (or cream of tartar) in the icing recipe.
- Cocoa Powder - Make the sugar cookies chocolate.

Necessary gear: Equipment
The following are affiliate links. We are a participant in the Amazon Services LLC Associates Program, an affiliate advertising program designed to provide a means for us to earn fees by linking to Amazon.com and affiliated sites.
I love my stand mixer, it is such a great time saver, I love that I can set it and leave it to do it's thing while I do other things.
I have all the equipment listed in the recipe card below, they're affiliate links.
More Christmas cookies I think you'll love


- Stacked Christmas Tree Cookies
- Grinch Cookies with Cake Mix
- Snowflake Gingerbread Cookies
- Christmas Whoopie Pies
Or take a look at this Christmas Charcuterie Board or this Gingerbread Trifle for something eye-catching and great for a party.
Mel's kitchen notes
If you are freezing the cookies I recommend to do the decoration once thawed.
About The Author
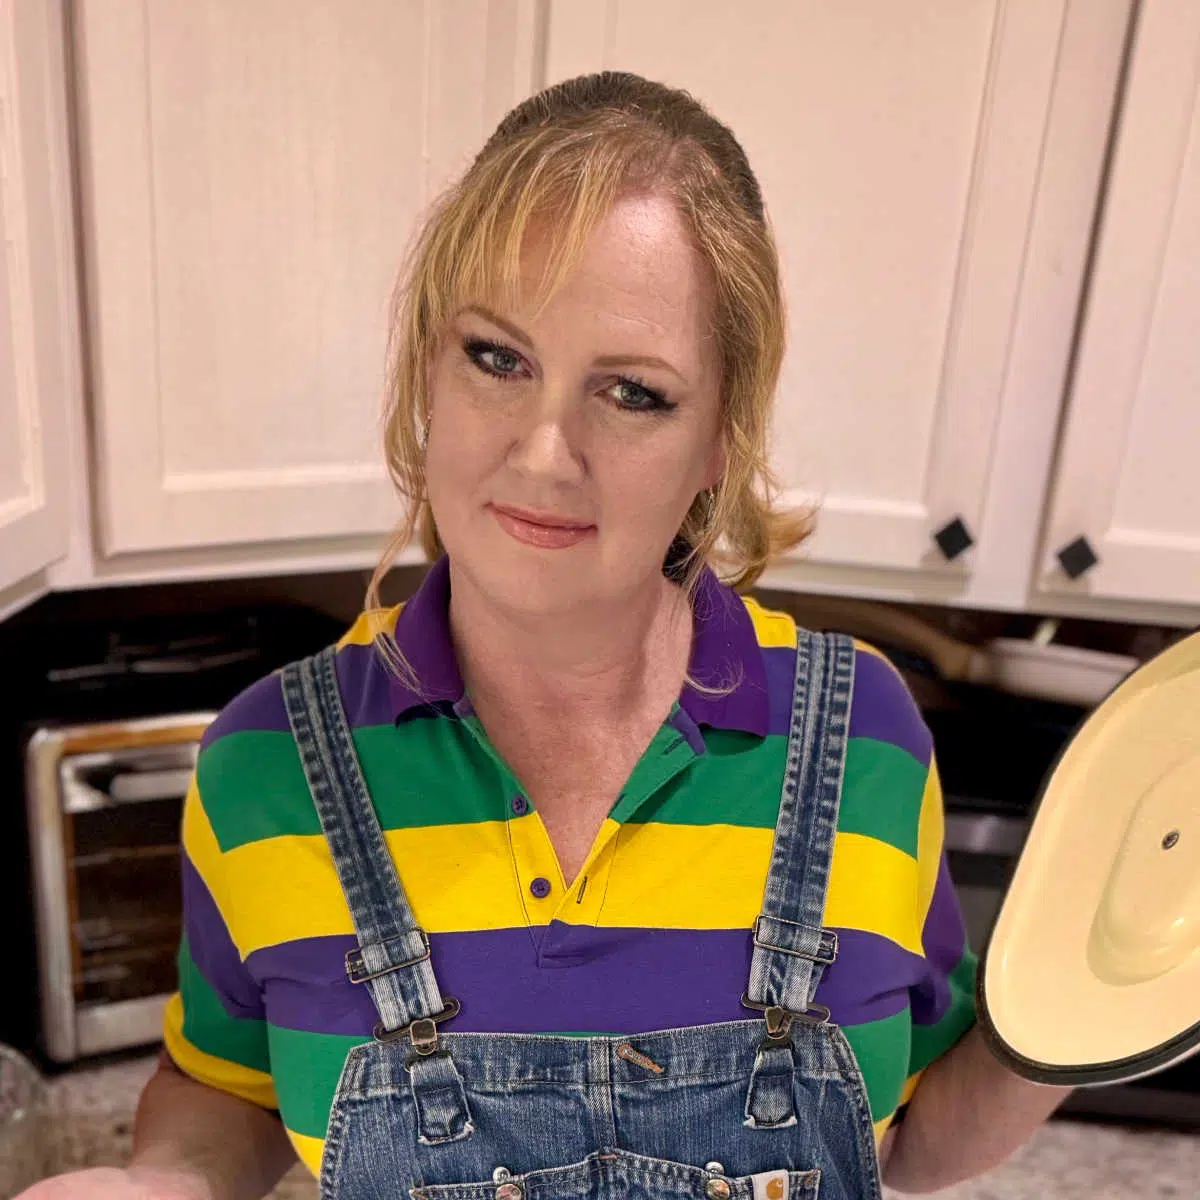
Melanie Cagle
Melanie is a professional food photographer, home cook, and Cajun food connoisseur. Since 2020 she has been sharing rigorously tested recipes and tutorials right here on this blog.
Her work has been featured on Fox News channels, Yahoo news, Southern Living and more recently having appeared on Food Network's "100 Cooks".

Frequently asked questions: FAQs
You can use an electric hand mixer, the handheld type. Or even mix by hand, it will take longer (and tire your arms out I'm afraid), but it's how it used to be done before there was such a thing as an electric mixer.
This dough does not need refrigeration.
If you've tried this Snowflake Cookies Recipe or any other great recipe on my site, let me know in the comment section below, how it turned out, we love hearing from our readers!
If you love this recipe please give it 5 stars! ⭐️⭐️⭐️⭐️⭐️
You can also follow me on PINTEREST, FACEBOOK and INSTAGRAM to see more amazing recipes!
Snowflake Cookies
ANNOUNCEMENT
Watch Me Compete on Food Network's newest competition show, "100 COOKS!"
Equipment
Ingredients
Cookies
- 1 Cup Unsalted Butter softened
- 2 Cups Powdered Sugar
- 1 Each Large Egg
- 2 teaspoons Vanilla Extract
- 3-¼ Cups All Purpose Flour
- 1-½ teaspoons Baking Powder
- 1 teaspoon Salt
Royal Icing Recipe
- 1 Pound Powdered Sugar
- 3 Tablespoons Meringue Powder
- ½ Tablespoon Vanilla Extract
- 6 Tablespoons Cold Water
- ½ teaspoon Cornflower Blue Food Color
Instructions
- Preheat your oven to 400°F.
- Add the Unsalted Butter to the mixing bowl of your stand mixer.1 Cup Unsalted Butter
- Add the Powdered sugar and mix until fluffy - about 3-5 minutes.2 Cups Powdered Sugar
- Add the Vanilla Extract and 1 large Egg and mix again until incorporated.1 Each Large Egg, 2 teaspoons Vanilla Extract
- In another medium mixing bowl, add the flour, salt and baking powder. Mix with a whisk and gradually add to the butter mixture while on low speed.3-¼ Cups All Purpose Flour, 1-½ teaspoons Baking Powder, 1 teaspoon Salt
- Once the cookie dough has come together, using your hands knead a little in the stand mixer bowl then split in two. Wrap the one half of cookie dough in plastic wrap and set aside.
- The other roll out on a lightly floured surface until about ¼" thick. Using a snowflake cookie cutter cut out the shapes and transfer to a cookie sheet lined with parchment paper.
- Take the scraps and roll out again, repeating until that first batch has filled up the cookie sheet. The cookies should be 1" apart.
- Bake in the oven for abuot 6 minutes, or until the edges start to lightly brown.
- While those cookies are baking you can repeat with the second batch on another cookie sheet. Once that first batch comes out, bake this one for 6 minutes again.
- Allow the cookies to cool a few minutes then place on a wire rack to cool completely.
- Wash the bowl and paddle for your next step.
- Add the 1 pound of Powdered Sugar and meringue powder to the stand mixer bowl. Mix with the paddle a few times to mix up.1 Pound Powdered Sugar, 3 Tablespoons Meringue Powder
- Add vanilla extract and 6 Tablespoons of water, until a good royal icing consistency is reached. It should be almost runny. Enough so that when you lift the paddle up, the icing that falls back into the bowl holds its shape on top for about 5 seconds, before melting into the rest.½ Tablespoon Vanilla Extract, 6 Tablespoons Cold Water
- Add half of this icing to one piping bag and tie the end.
- Add the ½ teaspoon of blue food color to the remaining icing and mix well.½ teaspoon Cornflower Blue Food Color
- Add this to another piping bag.
- Snip the tip so that only a small hole shows, so that the icing can be squeezed out slowly (or use a #1 icing tip).
- First pipe the icing around the outside of the cooled cookie. Then flood the inside. Use a toothpick to help move the icing around.
- Then take the opposite color and pipe the shape of a star over the top of the other dried icing.
- Allow to dry for a few hours before trying to stack on top of each other.
Storage Instructions
Once the icing has hardened (usually a few hours) the cookies can be store in an airtight container at room temperature for about 1 week. The cookies do freeze well. You could freeze in batches, or freeze the cookie dough itself.Notes
Nutrition
Sign Up for my emails and never miss another recipe!
I'll never share your email, or send you spam. Pinkie Promise!


Comments
No Comments