
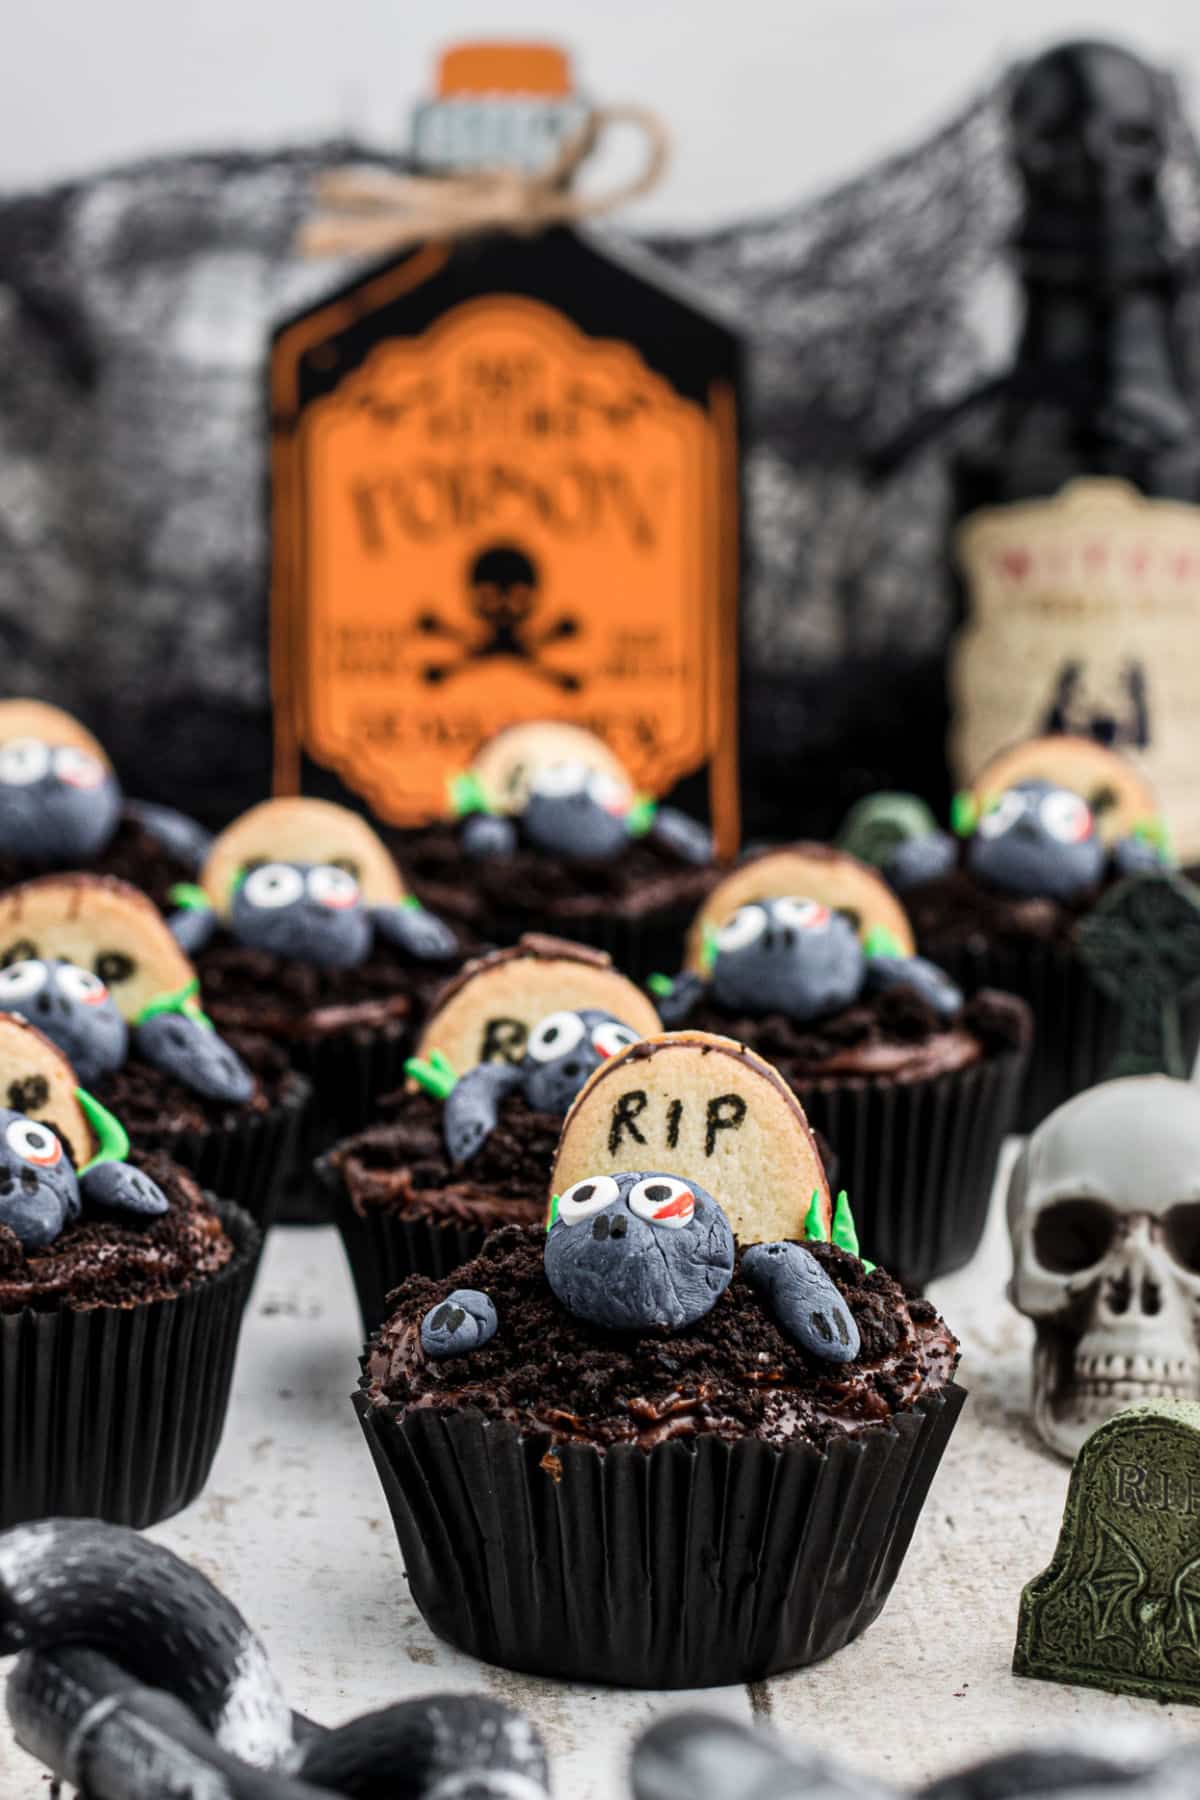
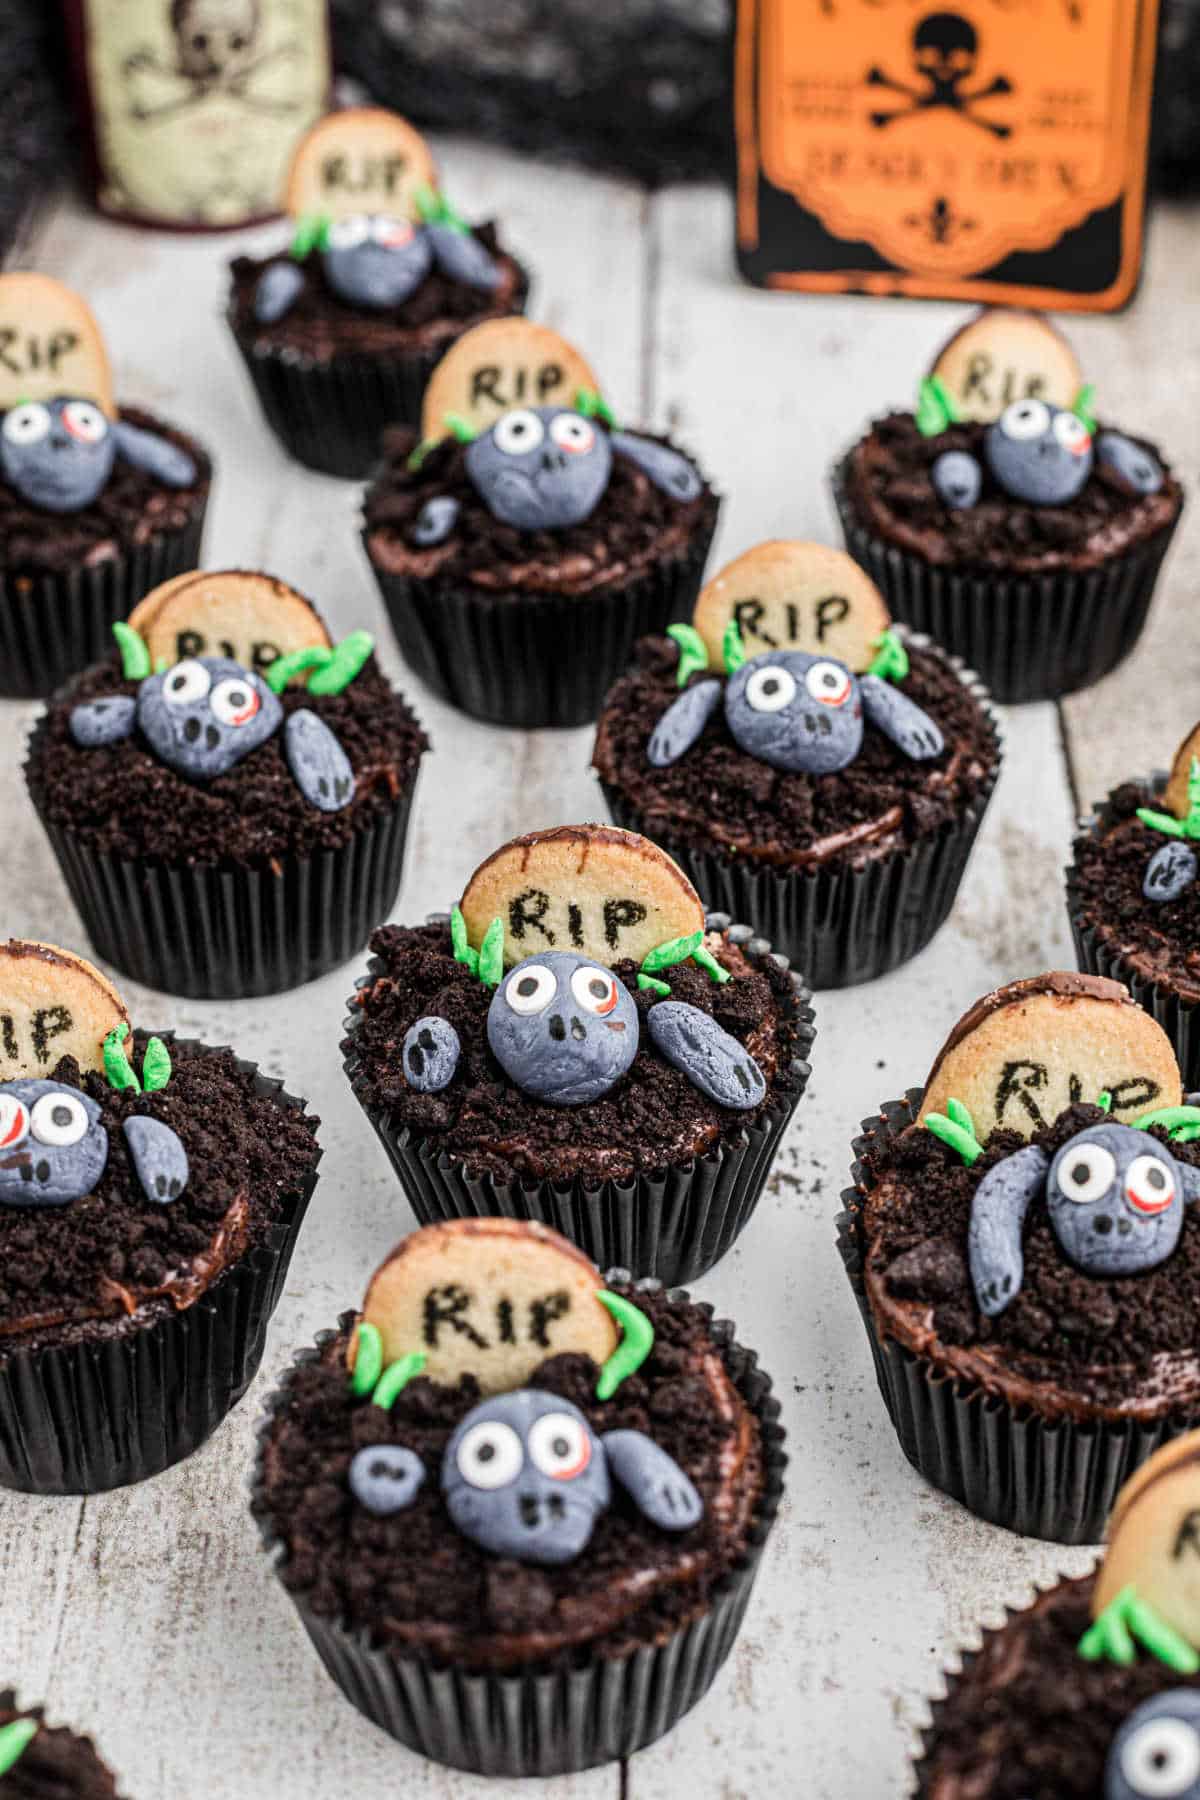
These Zombie Cupcakes are so stinkin' cute, they're the perfect Halloween cupcake for any get together and they're super easy to make, by using ready made items as much as possible.
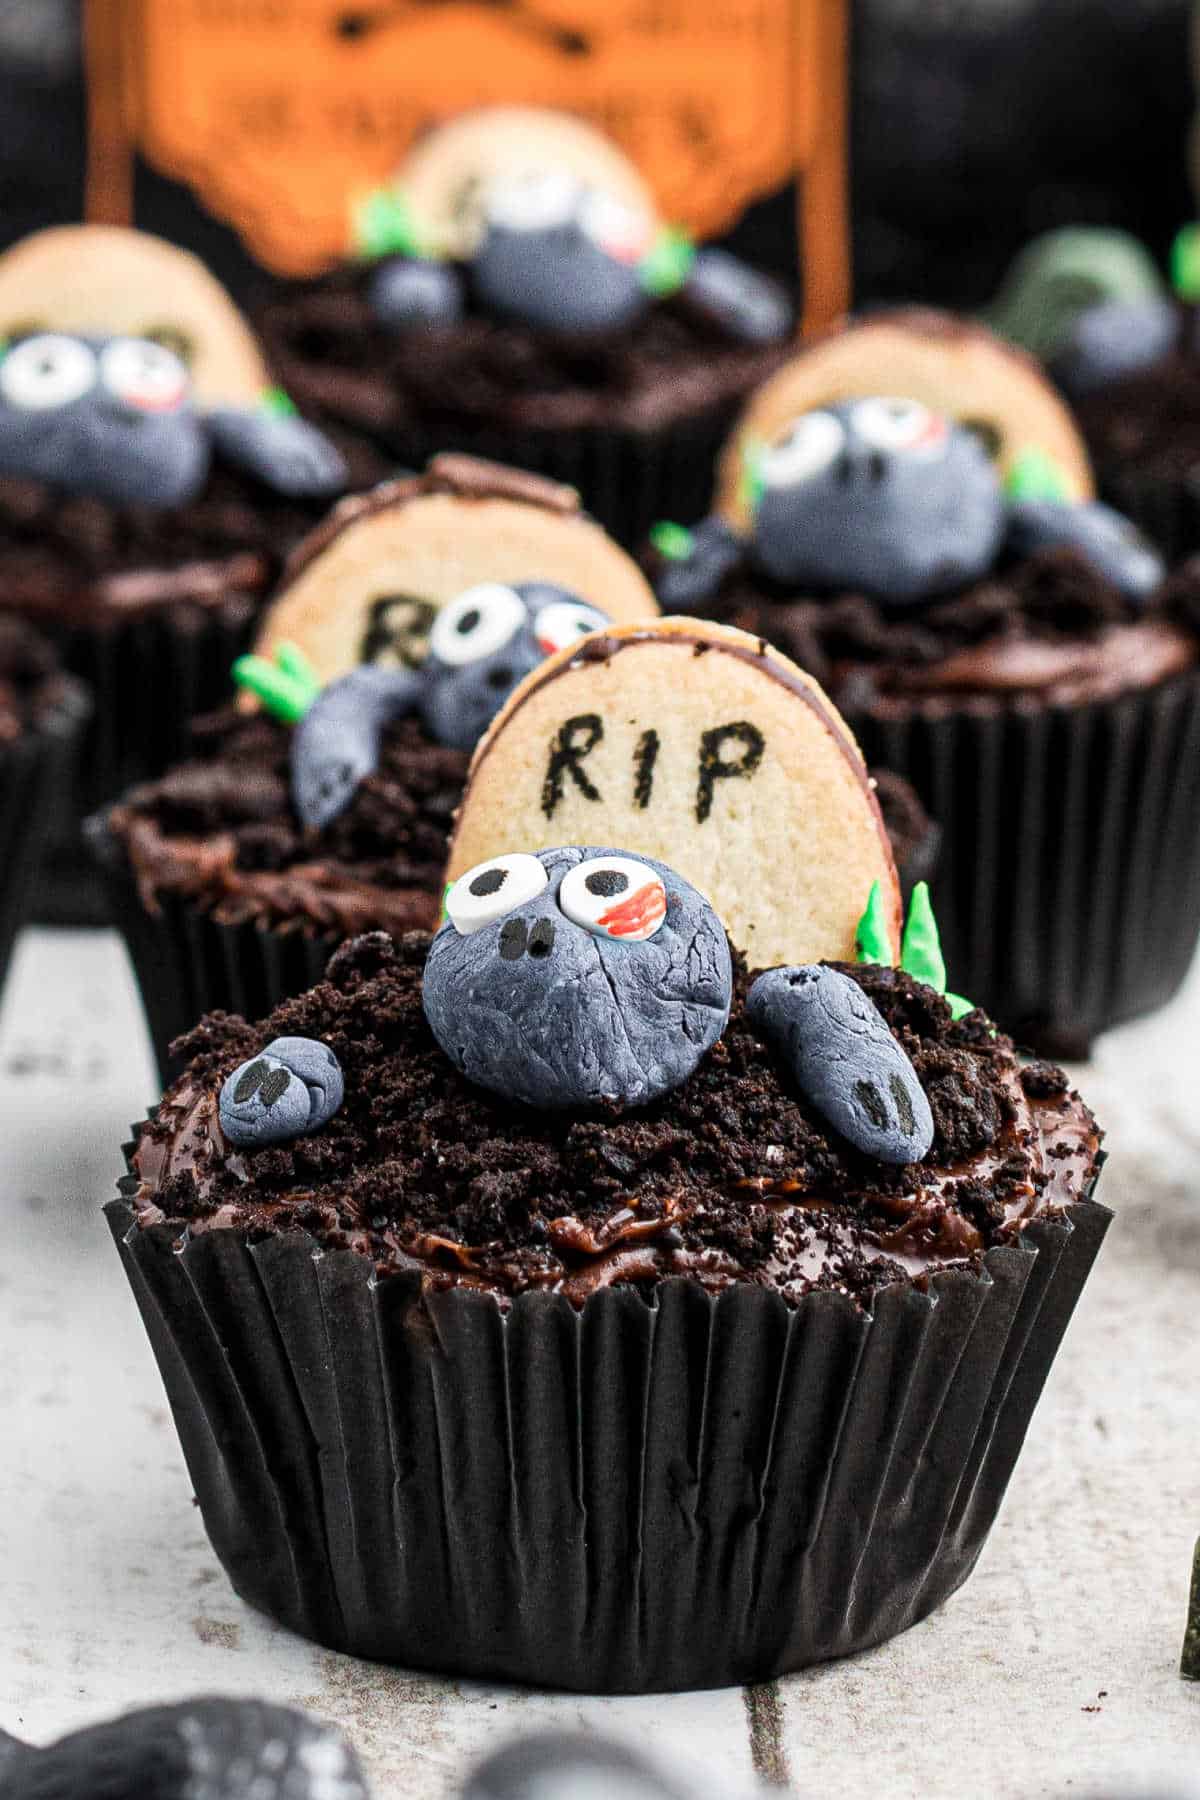
The top of each cupcake has crushed Oreos representing the earth in which the zombies are climbing out of. The oval cookie in the back (I used Milano cookies) has RIP written on using food marker and the zombie himself is made from colored fondant.
It's a great little project to get the kiddos to help with as making the zombies from fondant is exactly like working with play-doh!
These spooky cupcakes will be the life of the Halloween party.
Jump to:
❤️ Why you'll love it
- I've used store-bought items to speed things up. You could make the cupcakes and frosting homemade if you prefer, but the decoration can take some time so I'd rather keep that side of it easier.
- They are super cute and always get a massive 'ooooooh-aaaaahhhh' when revealed, lol.
- It's a project you can get the kids to help with and have some fun family time. They'll have so much fun.
- Nothing says happy Halloween more than some dead zombie cupcakes.
🧅 Ingredients
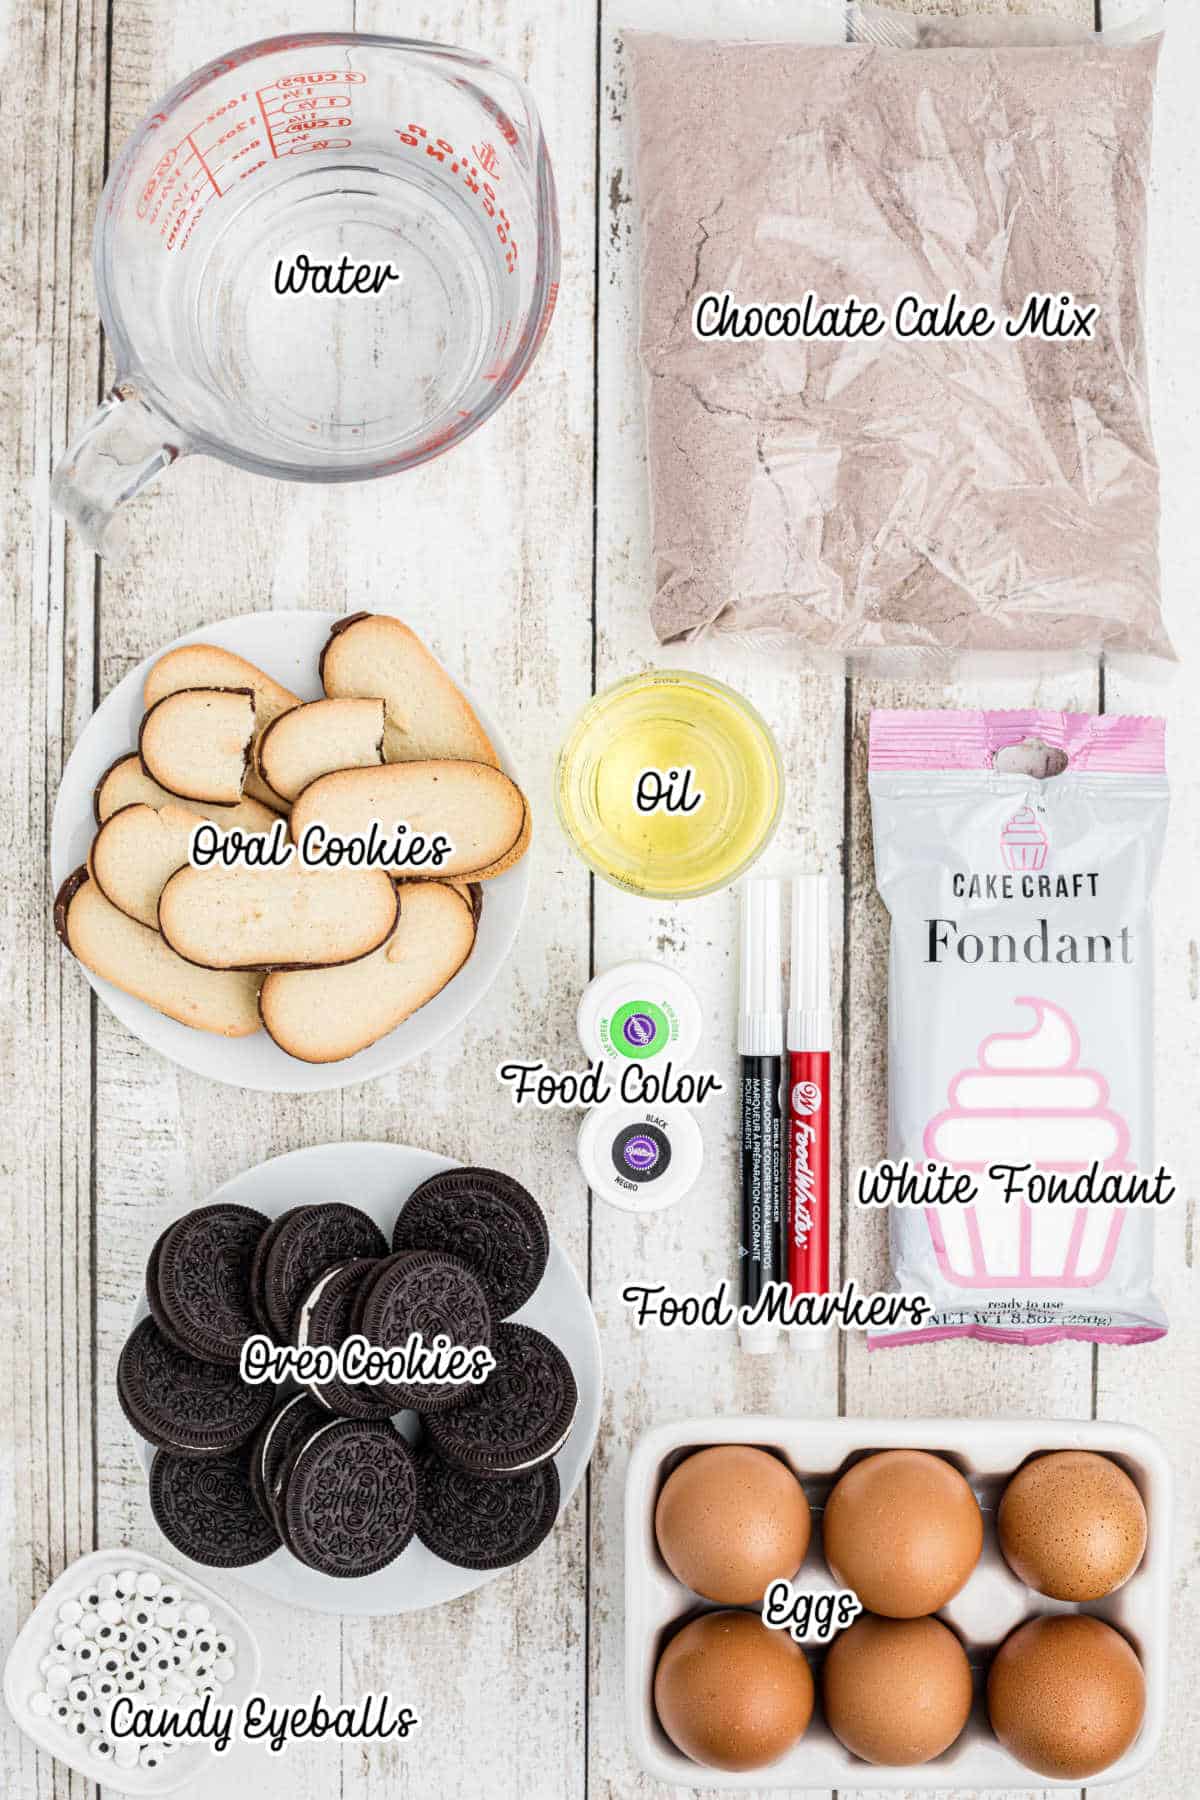
- Chocolate cake mix
- Chocolate Frosting (not in photograph)
- Water
- Vegetable Oil
- Eggs
- Oreo Cookies (or any chocolate cookie crumbs)
- Oval Cookies
- White Fondant
- Candy Eyeballs
- Black and Green food coloring
- Black and red food markers
See recipe card at the bottom of this post for quantities.
🥣 Instructions
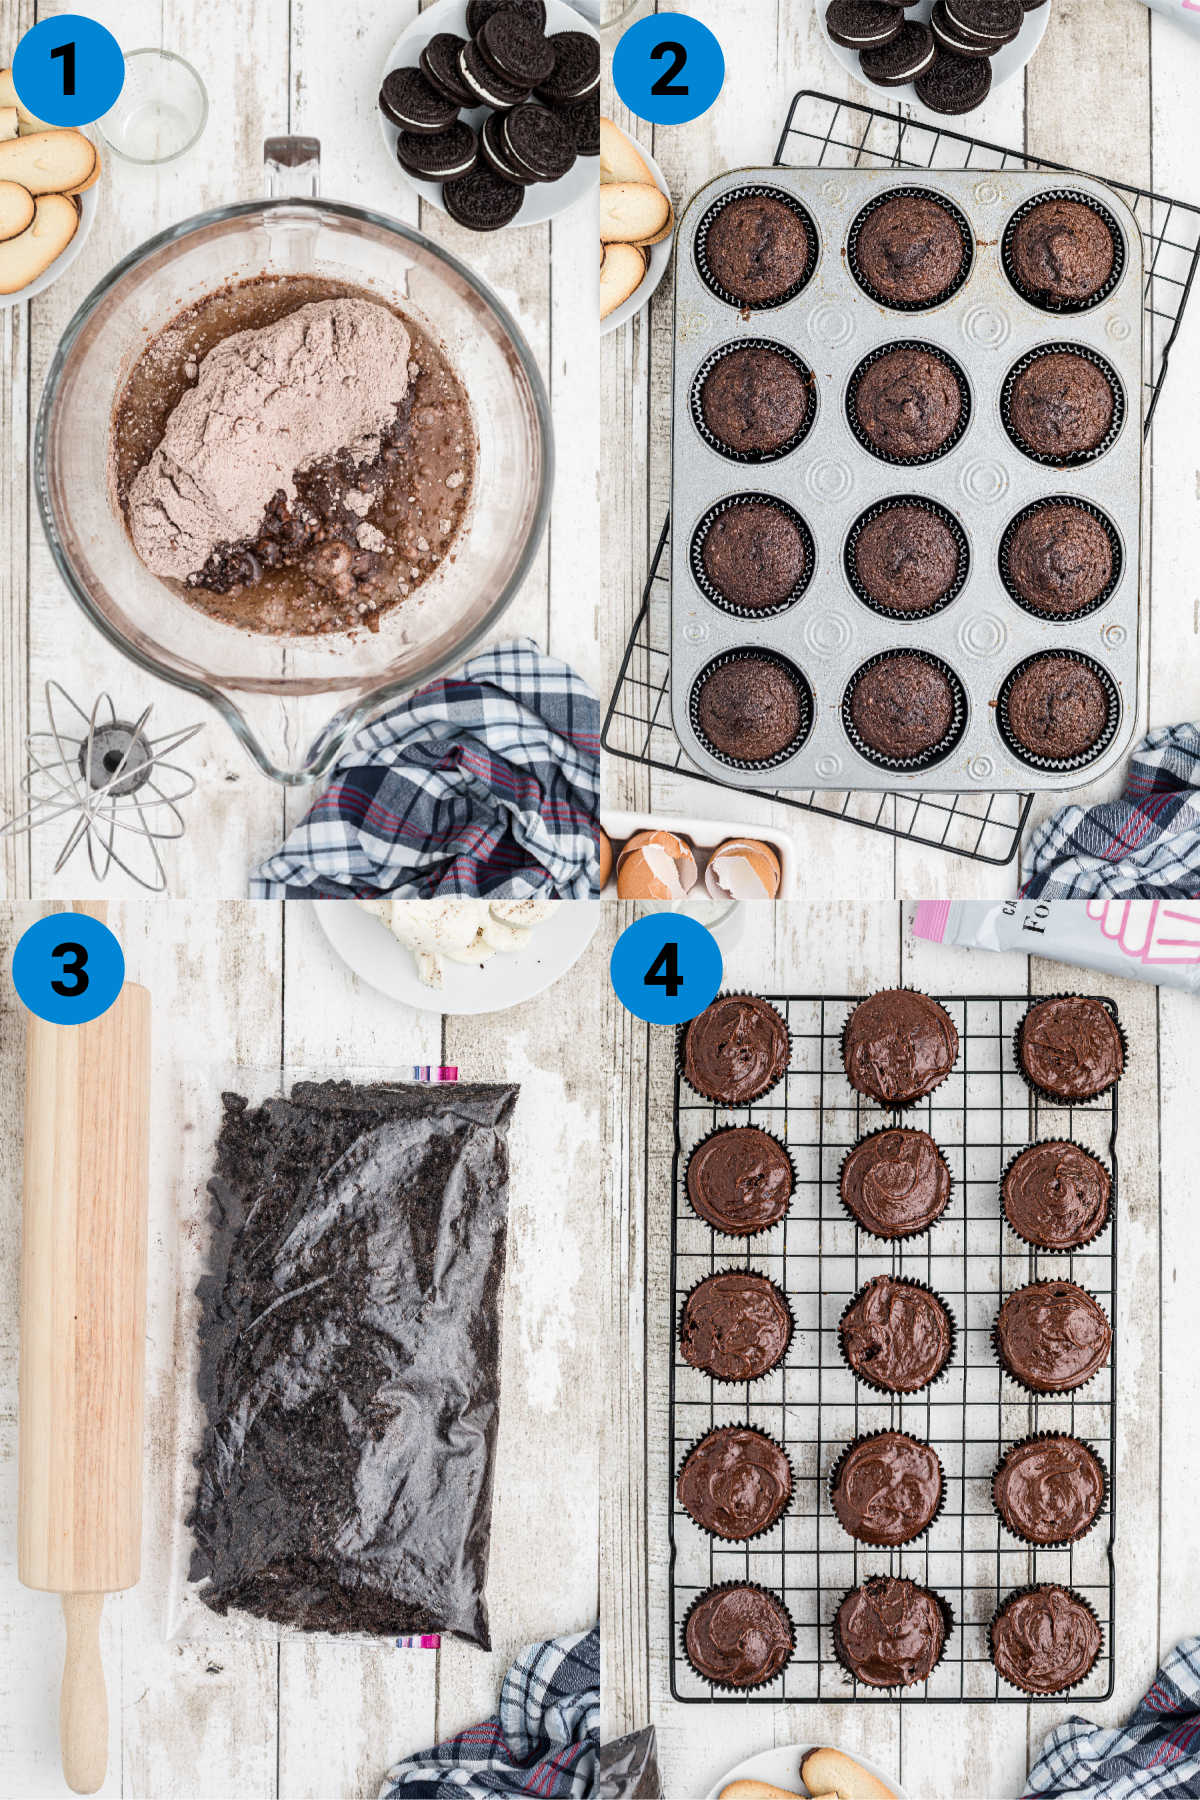
- Step 1: Preheat oven to 350°F. In a large bowl of stand mixer mix cake mix per package instructions.
- Step 2: Divide cake batter into a cupcake tray, lined with paper cases and bake 10 minutes. Remove and allow to cool on a wire rack.
- Step 3: Add the Oreo cookies (I removed the icing first) to a resealable bag and crush with a rolling pin.
- Step 4: Spread chocolate frosting onto each cupcake.
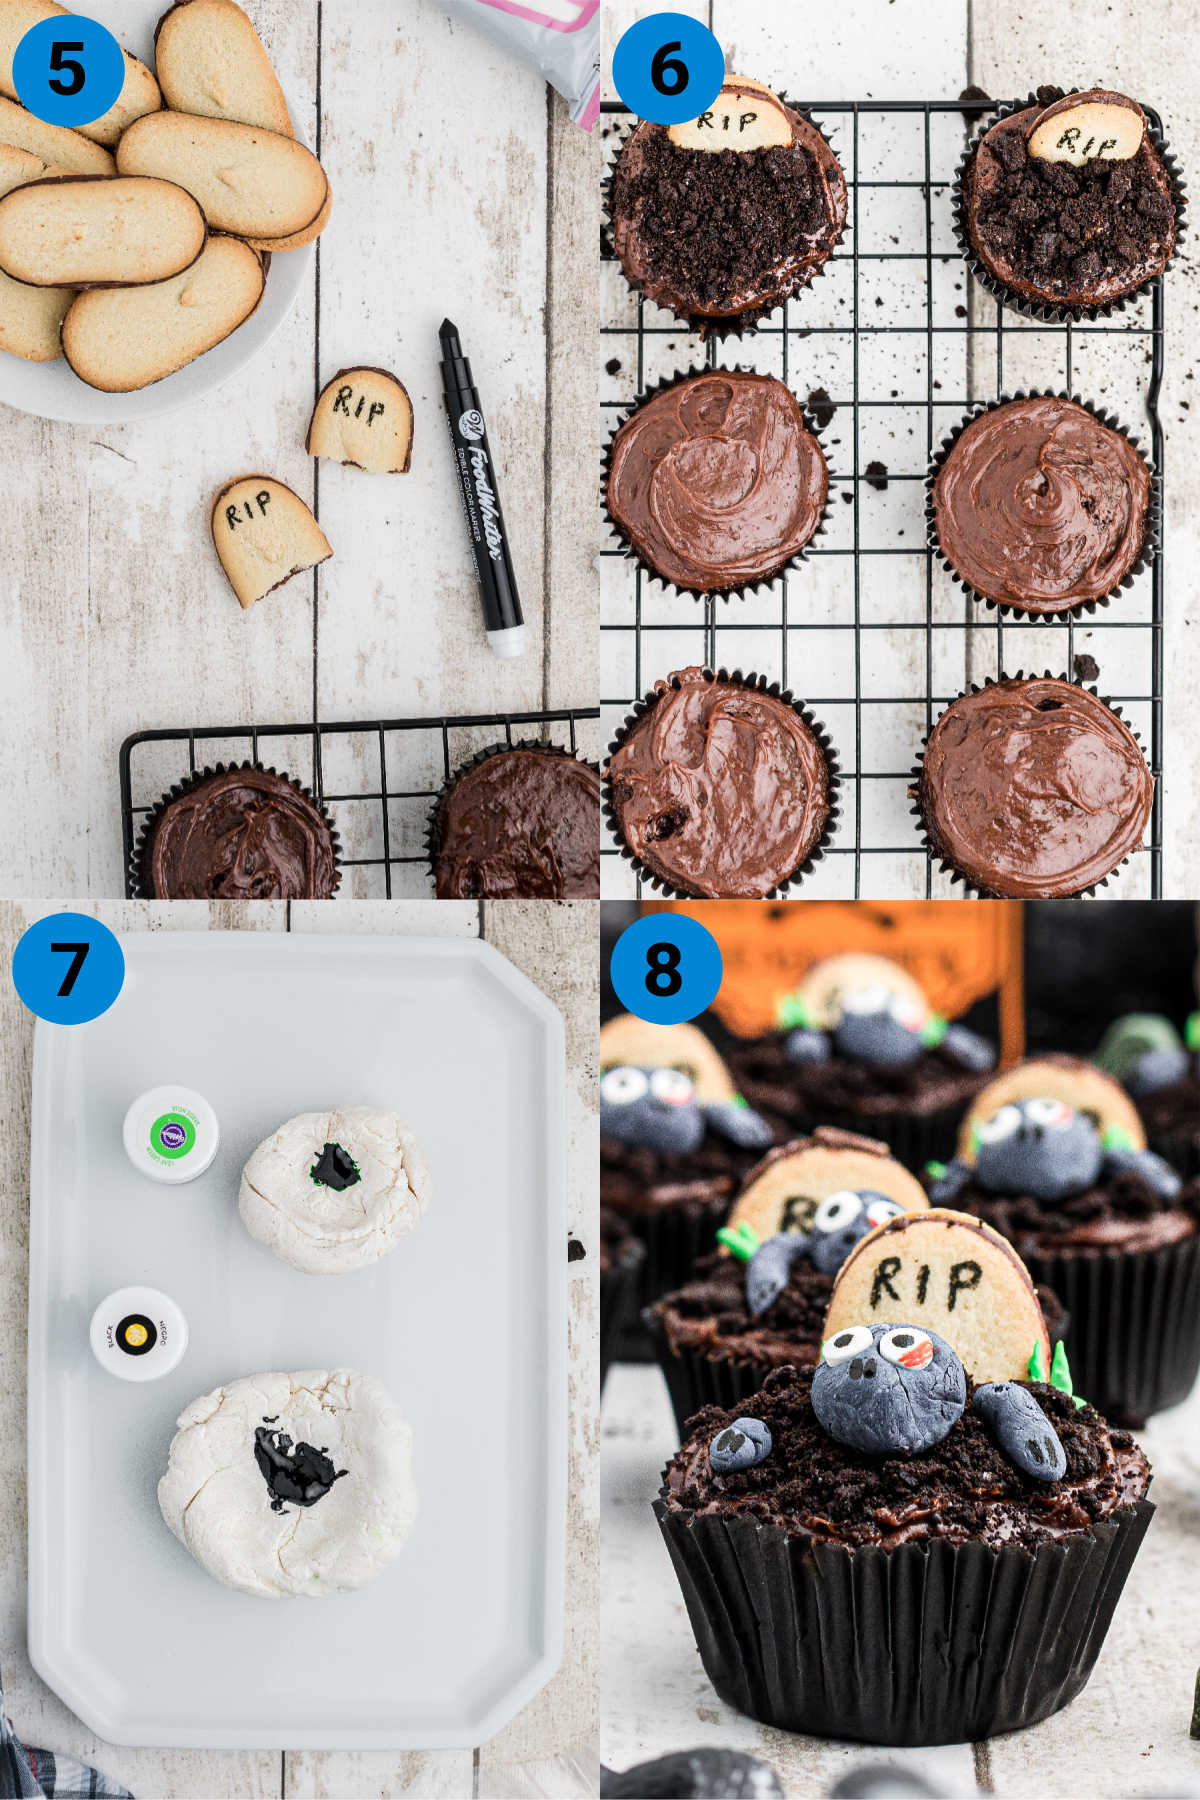
- Step 5: Break each cookie in half (or use a knife) and write RIP on each.
- Step 6: Push cookie into each cupcake to represent the headstone the sprinkle with crushed cookie pieces (representing graveyard earth).
- Step 7: Take the fondant and split into two. Put a few drops of green onto one and a few drops of black on the other. You're looking for a grass green and a zombie grey.
- Step 8: Start shaping the grass and the zombie hand and zombie face and lay on top of the earth. Press two candy eyeballs into each 'head' and use the red marker to add a little blood. Use the black marker to add a little detail.
Hint: Use gloves to help prevent hands getting colored with the food dye.
🔄 Substitutions and Variations
- Cake Mix - instead of chocolate you could use whatever you prefer.
- Homemade cupcakes - if you prefer and have a favorite recipe go ahead and do that.
❤ Sharing is Caring - Like Our Facebook Page ❤
🔌 Equipment
The following are affiliate links. We are a participant in the Amazon Services LLC Associates Program, an affiliate advertising program designed to provide a means for us to earn fees by linking to Amazon.com and affiliated sites.
I only used my stand mixer with the paddle attachment (but you could use an electric mixer or beat by hand if you like) and cupcake trays for this recipe. I have some links posted in the recipe card at the bottom of this post if you want more information.
📘 More Halloween Recipes
- Halloween Jungle Juice
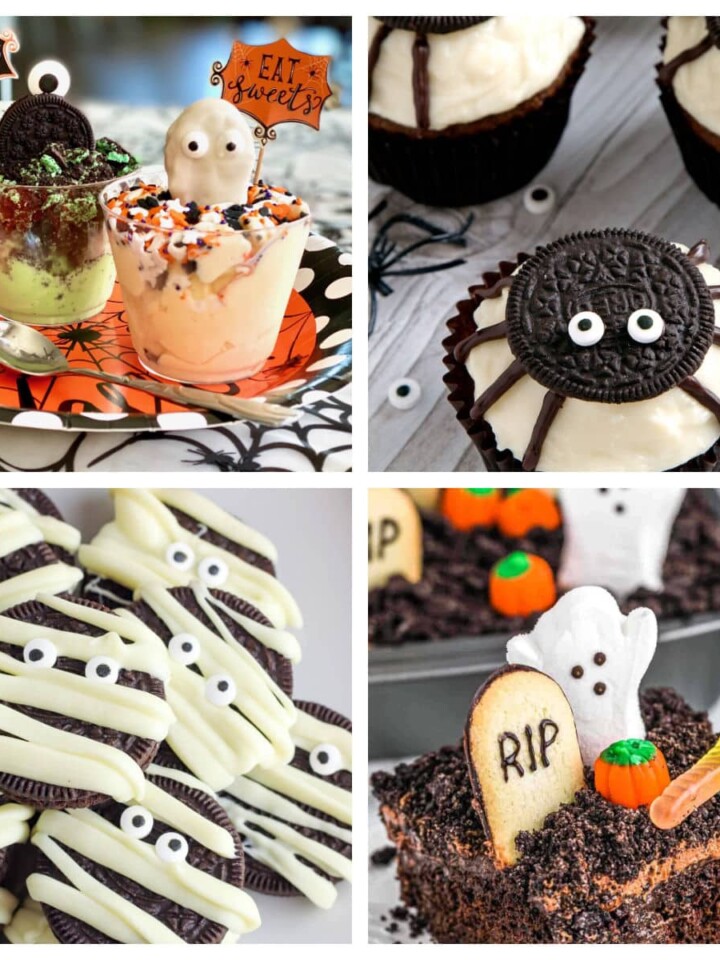
- Halloween Treats Made With Oreos
- 70 Best Halloween Snacks
- Voodoo Fudge
- Halloween Grilled Cheese
- Halloween Cake Mix Cookies
- Ghost Cupcakes
🧊 Storage
The zombie cupcakes can be stored at room temperature for a few days in an airtight container.
💡 Tips
Expert Tip: You don't need a lot of frosting on the cupcakes - in fact, just enough to 'hold' the Oreo crumbs.
👩🍳 FAQs
Working with fondant is exactly like shaping play-doh. If you can make a shape out of play-doh, you're good!
My local Walmart actually had these, but you can find them in Michaels or Hobby Lobby too.
If you’ve tried these Halloween Zombie Cupcakes or any other great recipe on my site, let me know in the comment section below, how it turned out, we love hearing from our readers!
If you love this recipe please give it 5 stars! ⭐️⭐️⭐️⭐️⭐️
You can also follow me on PINTEREST, FACEBOOK and INSTAGRAM to see more amazing recipes!
Zombie Cupcakes
Video
Ingredients
- 15.25 Ounces Chocolate Cake Mix 1 box
- 3 Each Large Eggs
- ½ Cups Vegetable Oil
- 1-¼ Cups Water
- 16 Ounces Chocolate Frosting
- 30 Each Oreo Cookies icing removed, crushed
- 12 Each Oval Cookies halved
- 8.8 Ounces White Fondant Icing 1 package
- 2 drops Black Food Color
- 4 drops Green Food Color
- 1 Each Black Food Marker
- 1 Each Red Food Marker
- 24 Each Candy Eyeballs
Instructions
- Preheat oven to 350°F and in a mixing bowl mix the cake mix per box instructions.15.25 Ounces Chocolate Cake Mix, 3 Each Large Eggs, ½ Cups Vegetable Oil, 1-¼ Cups Water
- Divide the cake batter evenly, about 3 tablespoons each cupcake, into a cupcake tray with cupcake liners. Bake for 10 minutes.
- Remove the cupcakes from the oven and allow to cool.
- Add the oreo cookies (without icing) to a resealable bag and crush with a rolling pin.30 Each Oreo Cookies
- Spread chocolate frosting onto each cupcake.16 Ounces Chocolate Frosting
- Break each oval cookie in half (or use a knife) and write RIP on each cookie half.12 Each Oval Cookies, 1 Each Black Food Marker
- Push each cookie into the back of a cupcake leaving space in front to lay out the zombie. Sprinkle crushed Oreos to represent the soil being disturbed.
- Take the fondant and split into two. Add a few drops of green onto one and a few drops of black onto the other. We need a good color for grass and a nice pale grey for the zombie.8.8 Ounces White Fondant Icing, 2 drops Black Food Color, 4 drops Green Food Color
- Start shaping the grass and the zombie like you're using play-doh. Press two candy eyes into each zombie head then use the red marker to make some blood and the black marker to add a little detail.24 Each Candy Eyeballs, 1 Each Red Food Marker
Notes
Nutrition
Sign Up for my emails and never miss another recipe!
I'll never share your email, or send you spam. Pinkie Promise!




Mandy knight says
This recipe was a winner in my household. My 4 kids lived them. They taste delicious. Definitely will be following for more family fun recipes.
Melanie Cagle says
Thanks Mandy, glad y'all liked them x