
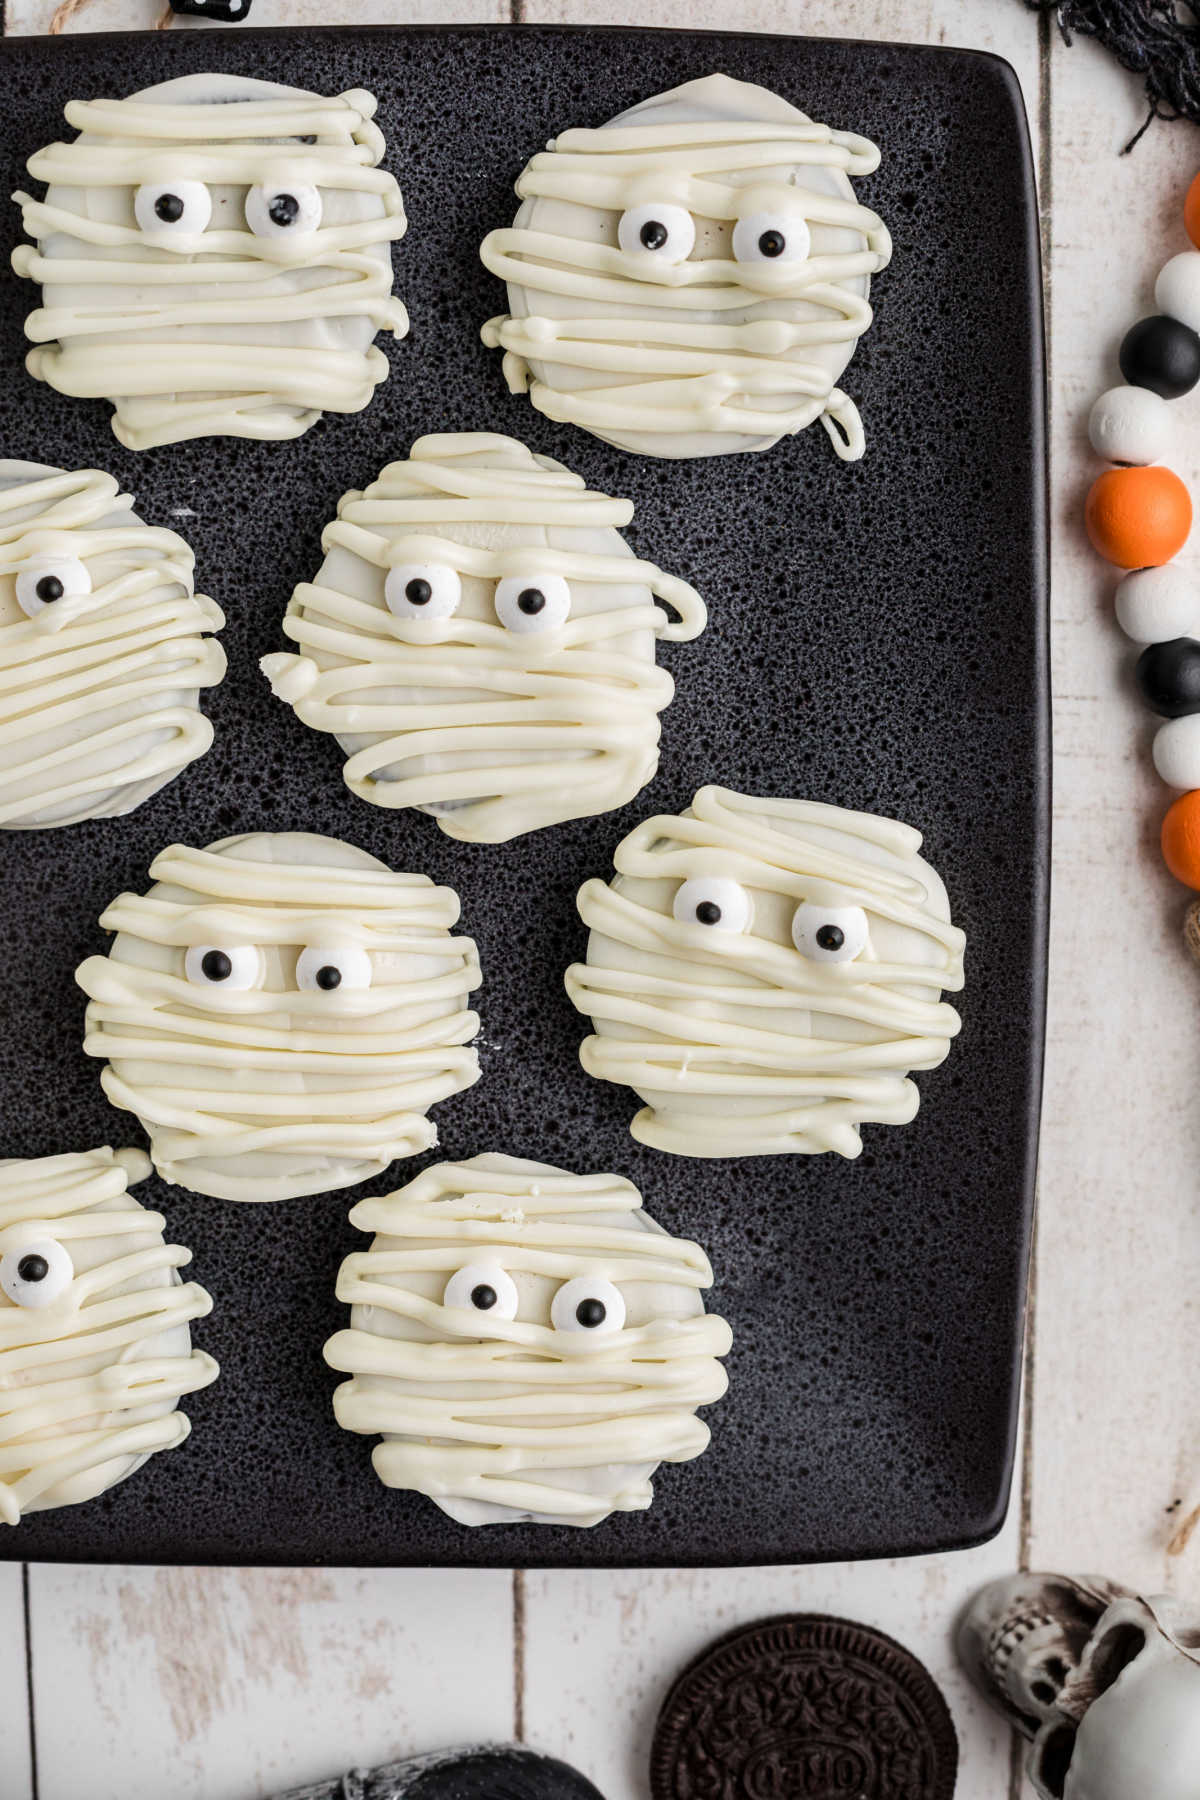
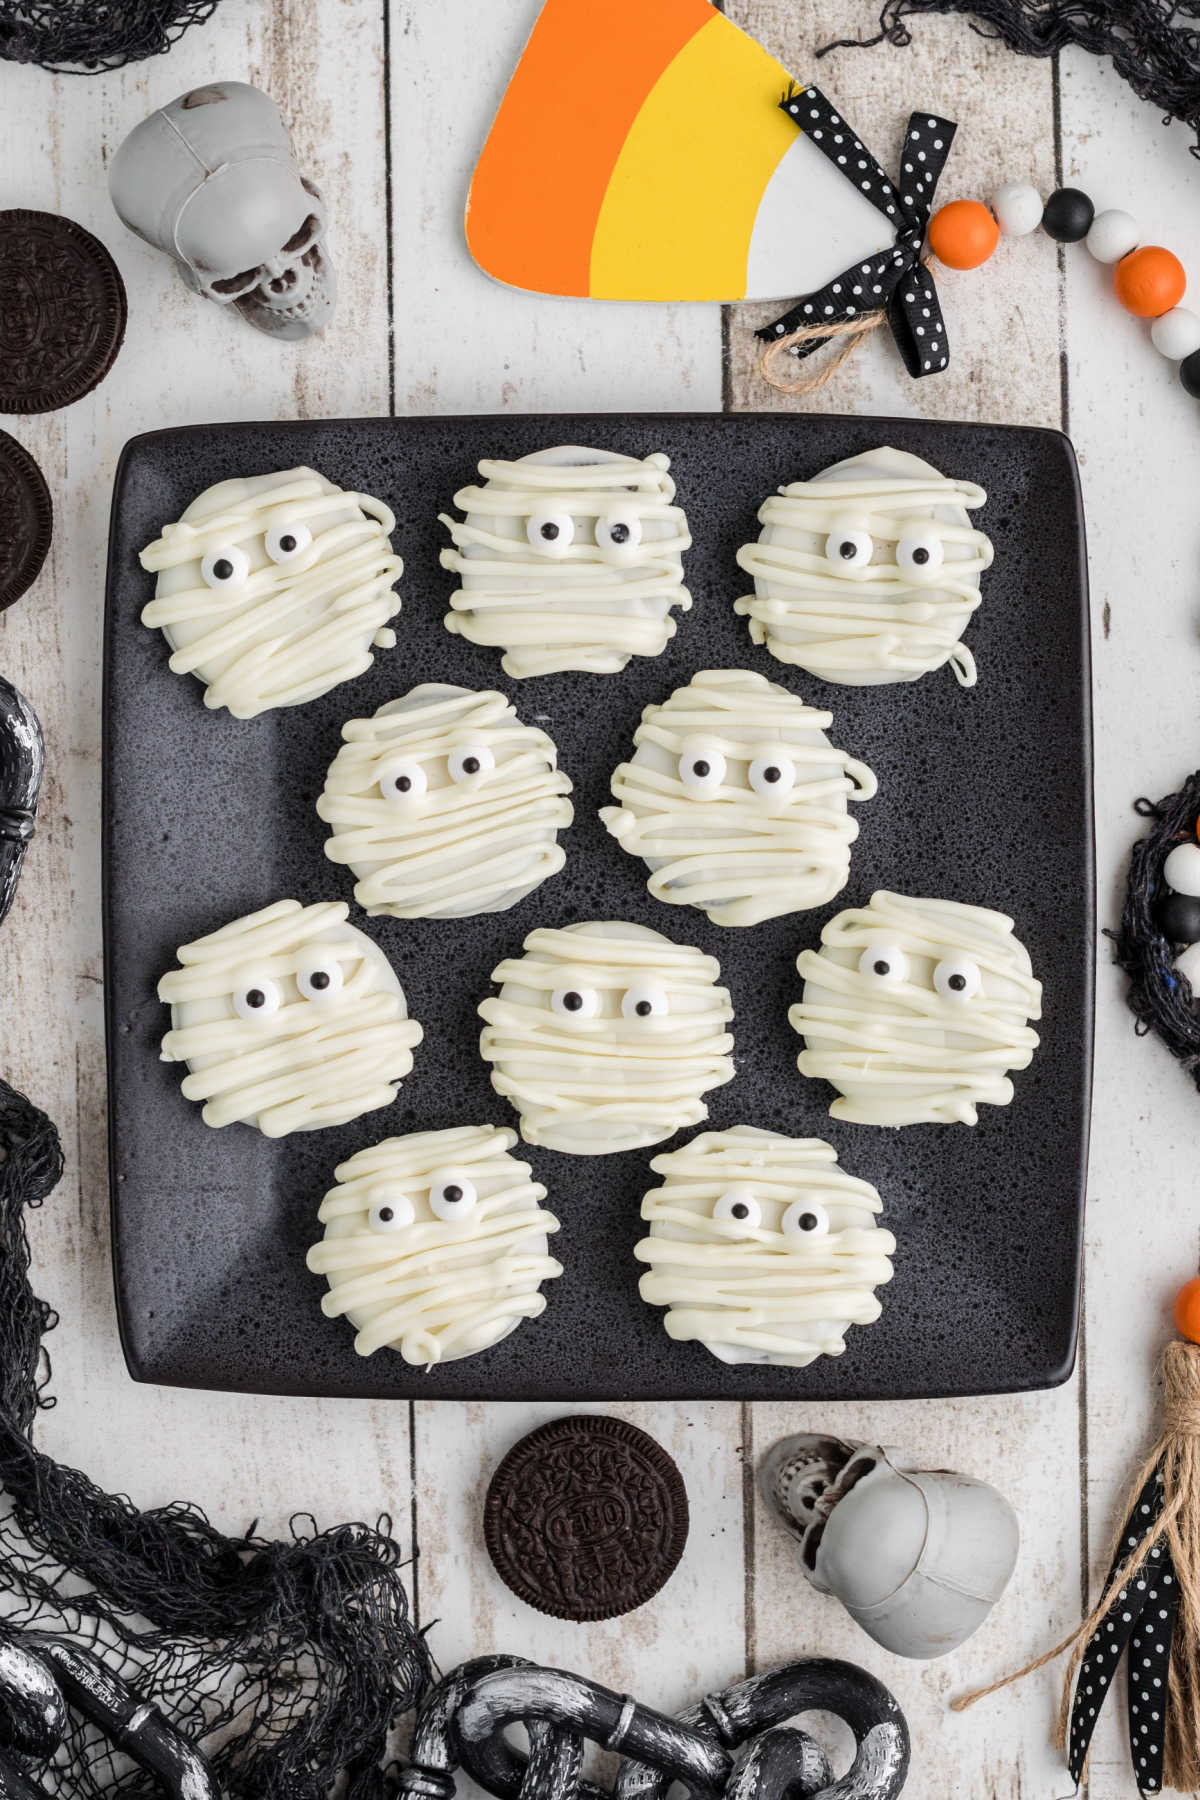
These cute and simple Mummy Oreos are super spooky and they make the perfect Halloween Class Treats, or office treats. These Halloween Treats use just a few ingredients and look really cute.
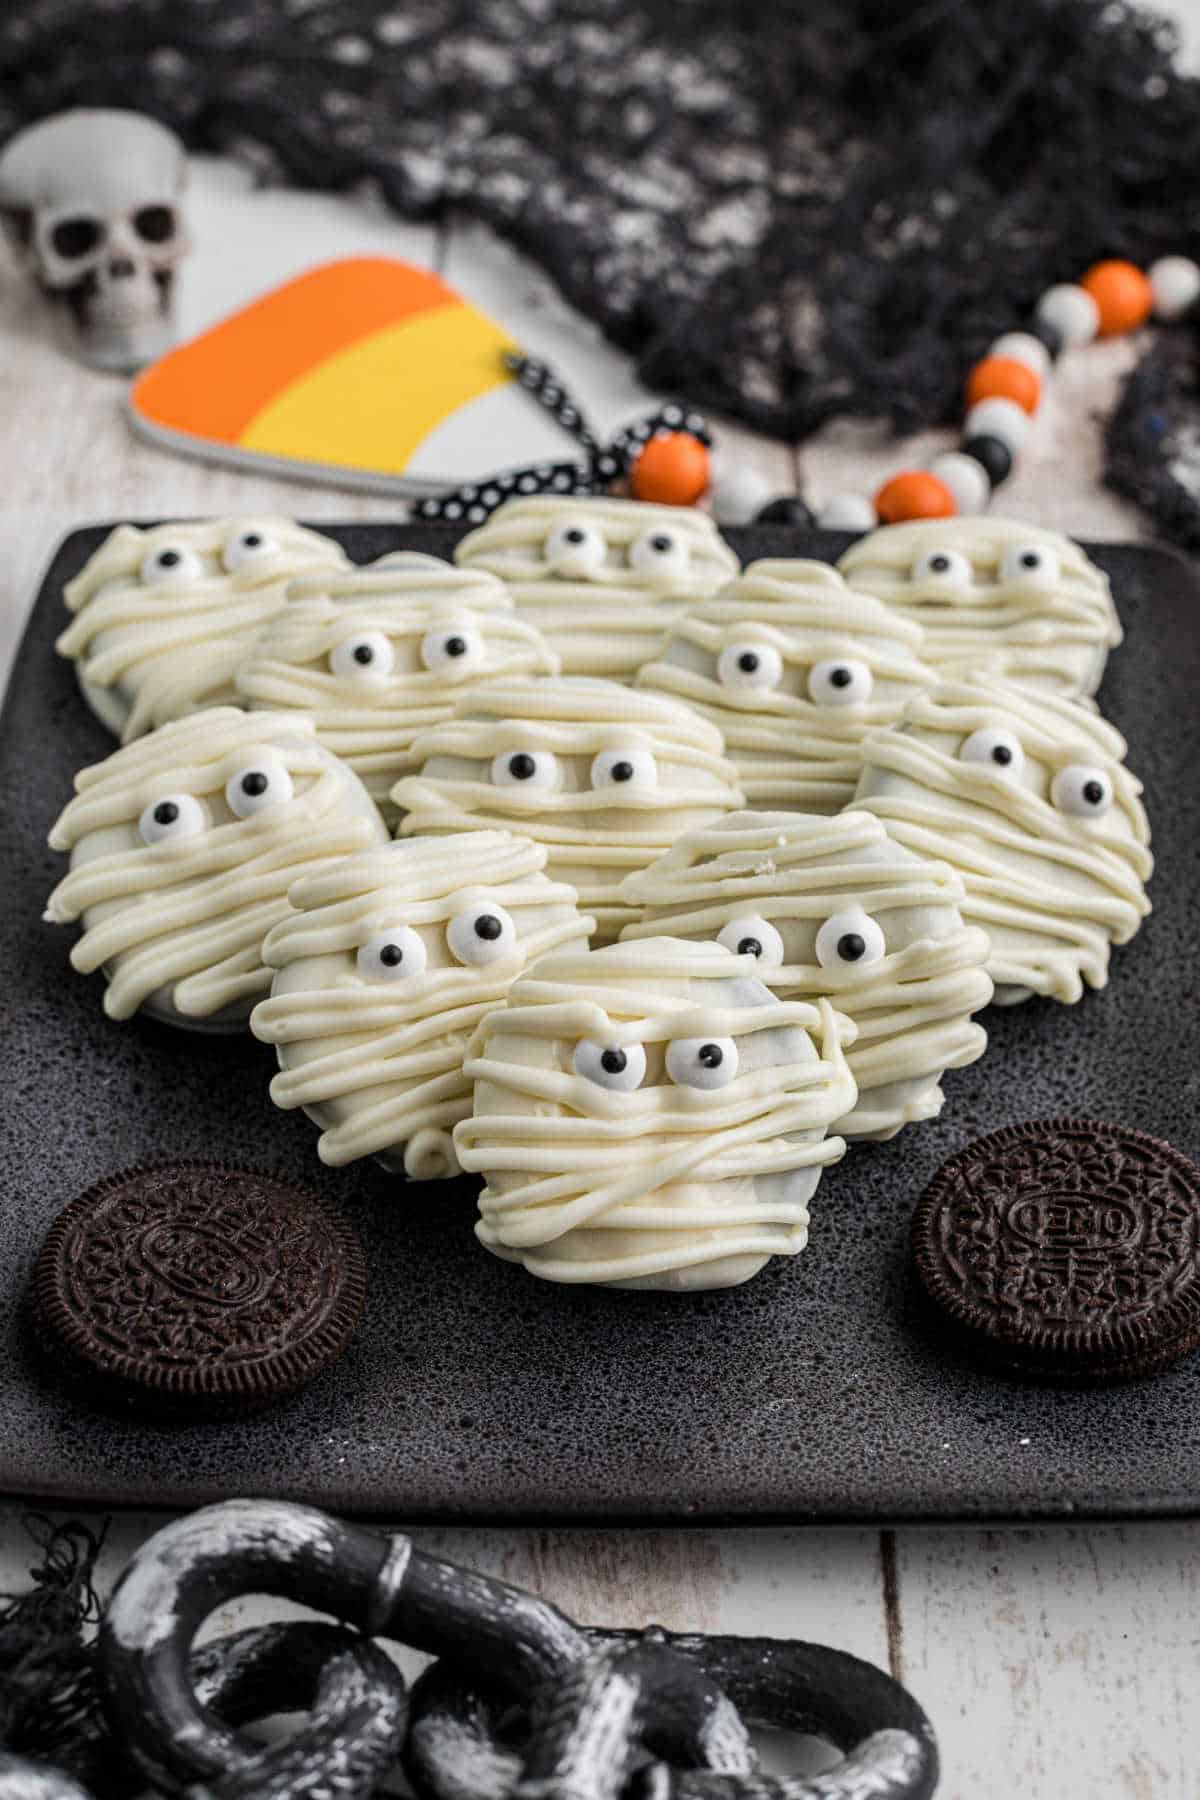
It's so simple to make these festive cookies, you could take the basic concept of dipping the Oreo Cookies, and decorate for any holiday.
I love this spooky season, Halloween parties are always my favorite, I love to get festive and dress up (my husband hates it, lol).
Jump to:
❤️ Why you'll love it
- It's an easy Halloween Treat to make.
- These Halloween Oreos are great for a class party, or the workplace alike.
- It's so simple you can get the kids involved. They'll love these fun Halloween Treats.
- Lollipop Sticks - you could use these to help dipping the cookies as a one time dip. Keep the lollipop sticks in there if you like.
🧅 Ingredients
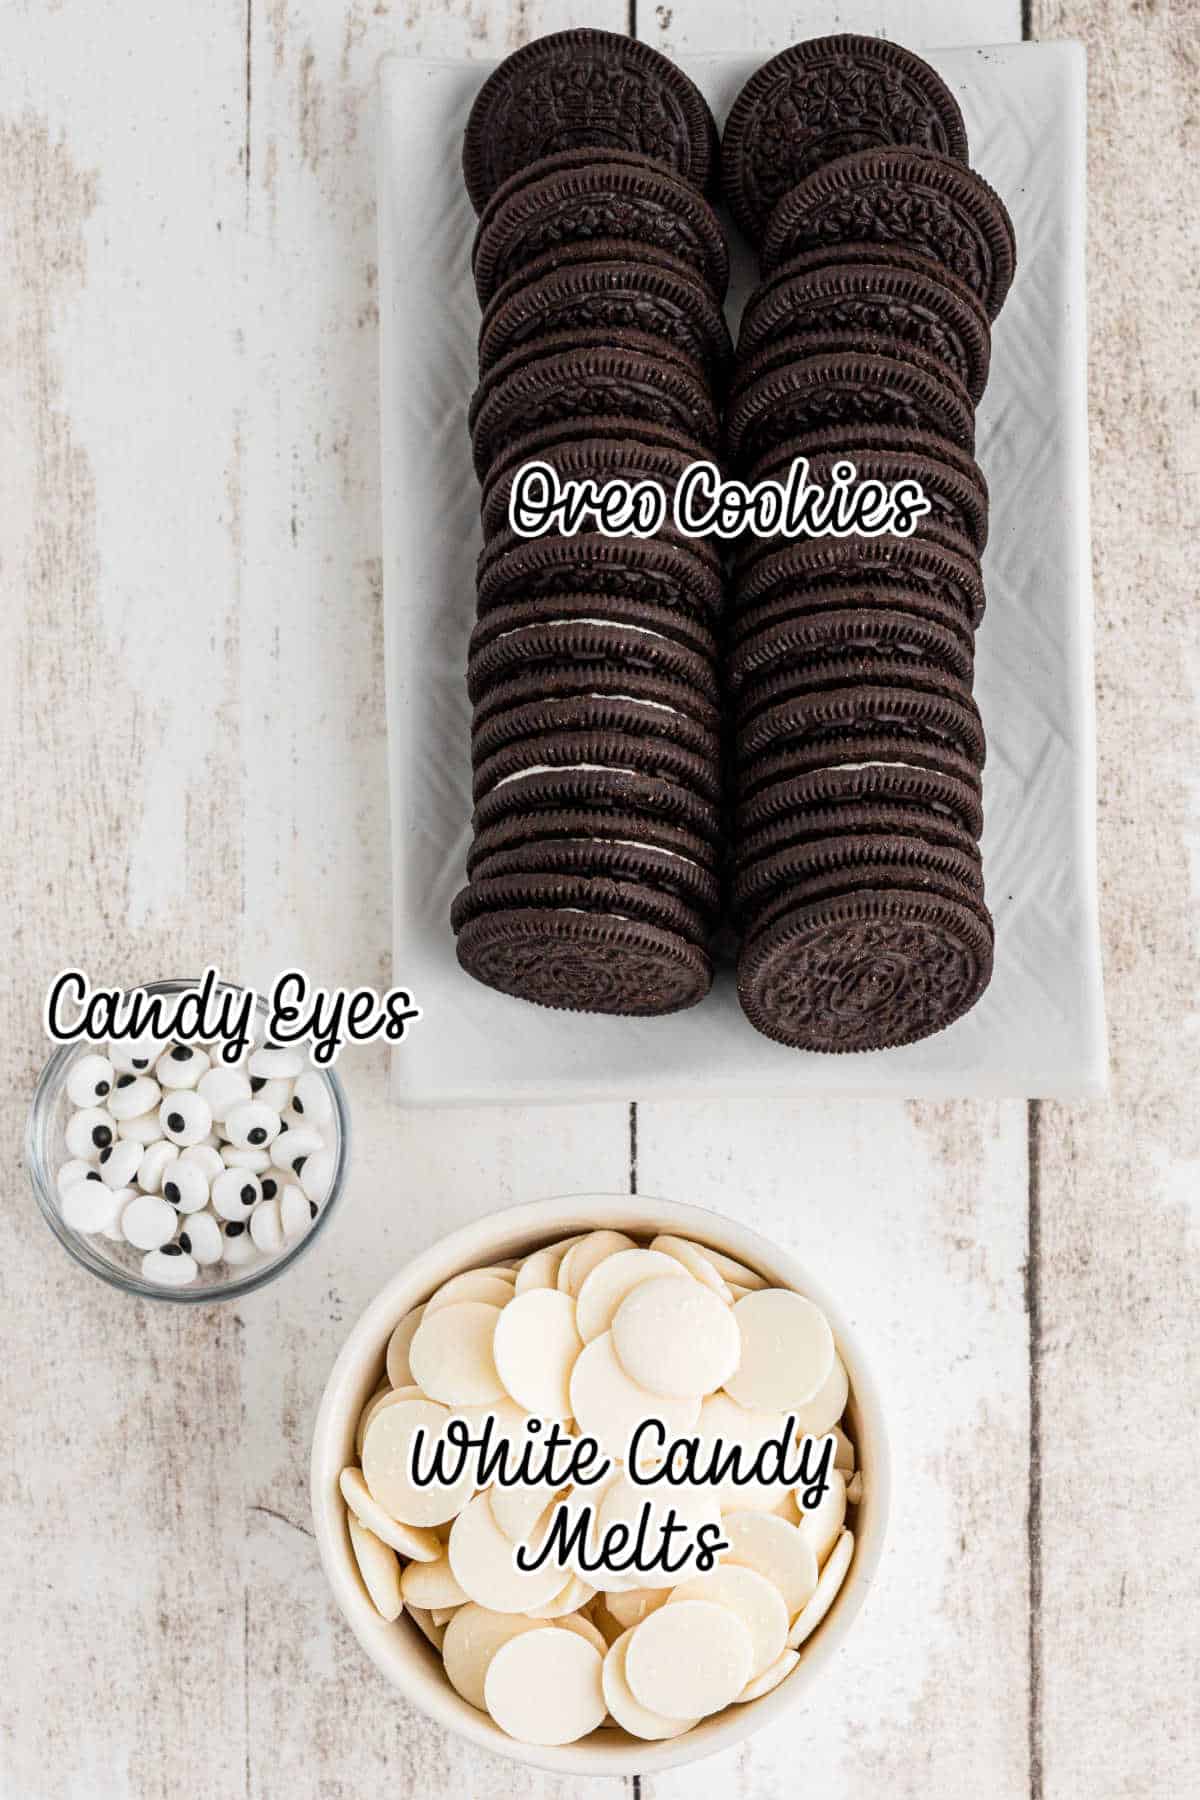
- Oreo Cookies
- Candy Eyeballs
- White Candy Melts
See recipe card at the bottom of this post for quantities.
🥣 Instructions
This is an overview of the recipe steps. For more detailed instructions visit the recipe card at the bottom of this post (for the full recipe).
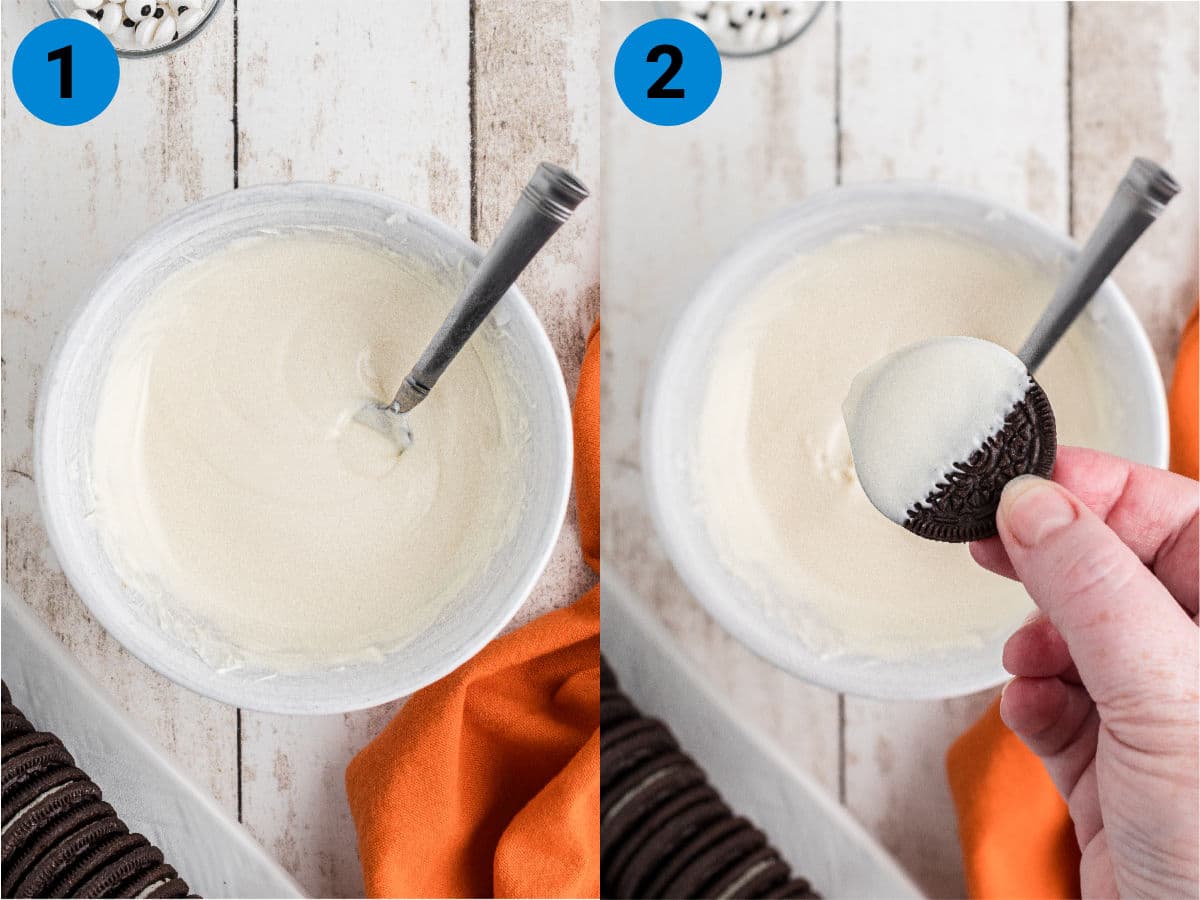
- Step 1: Heat the candy melts in a small microwave-safe bowl, in 20-30 second intervals until melted to the right consistency to dip.
- Step 2: Tap the cookies then dip into the coating mix, half way.
- Step 3: Lay out on a baking sheet with wax paper to dry. (Speed up the process by placing the baking sheet in the refrigerator).
- Step 4: Freshen up the coating mix again then dip the other side of the Oreo mummies to completely coat. Lay out on the baking sheet again.
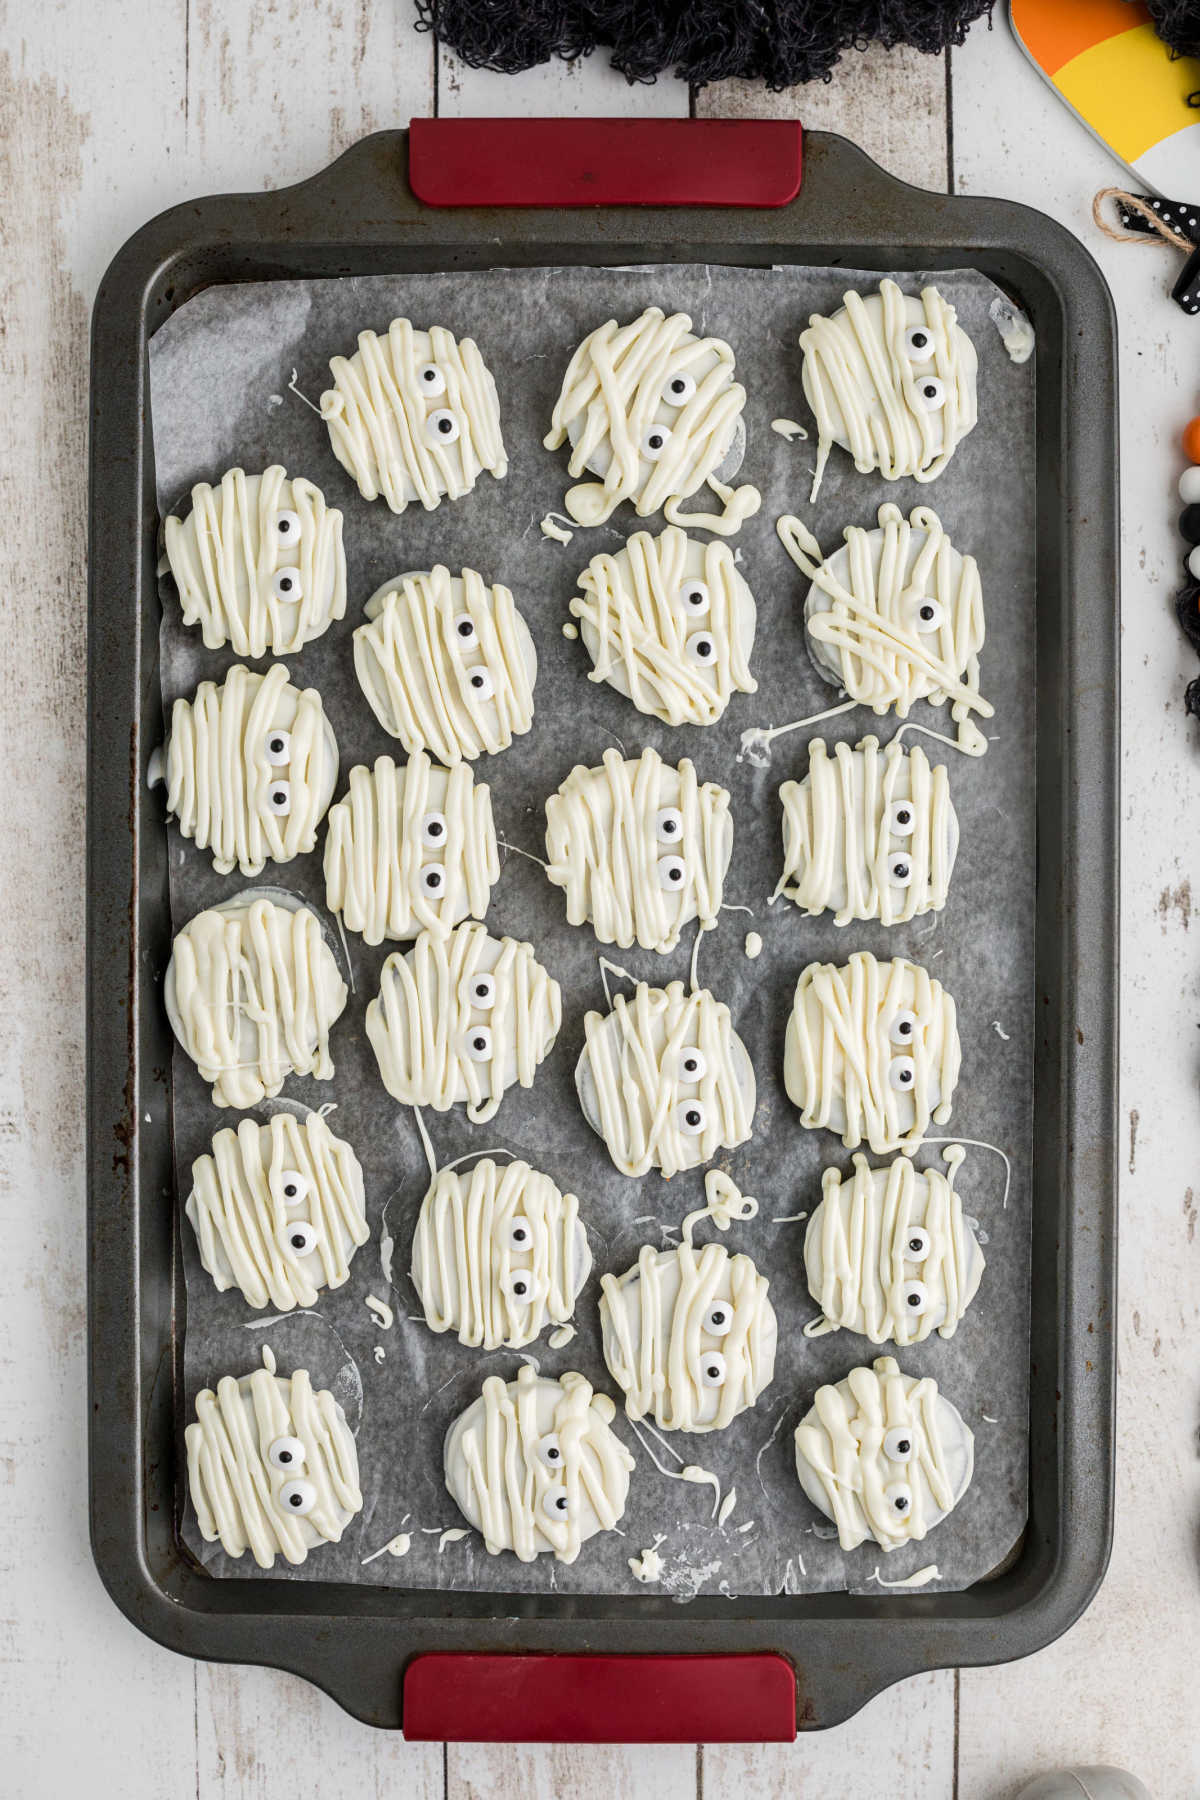
- Step 5: While the cookies are still setting, place the candy eyes on each cookie.
- Step 6: Add the remaining candy coating to a piping bag (pastry bag) and snip the corner (or use a small tip). Pipe the 'bandages' over the cookies.
- Step 7: Allow the coating to set before serving.
Hint: Make sure to tap the cookies before you dip them into the coating. It's a great way avoid you getting crumbs in the coating mix.
🔄 Substitutions and Variations
- White Chocolate - instead of white candy wafers use melted chocolate.
- Coconut Oil - add a little to the candy melts, or chocolate to thin it a little.
- Parchment Paper - you could use this instead of the wax paper.
- White Almond Bark - instead of the candy melts. This works great too.
❤ Sharing is Caring - Like Our Facebook Page ❤
🔌 Equipment
The following are affiliate links. We are a participant in the Amazon Services LLC Associates Program, an affiliate advertising program designed to provide a means for us to earn fees by linking to Amazon.com and affiliated sites.
All you'll need is a small mixing bowl to melt the candy melts and a baking sheet with wax paper to set the cookies down.
I have some affiliate links in the recipe card below.
📘 More Halloween Recipes
- Breadstick Rattlers
- The Best Kid Friendly Halloween Recipes
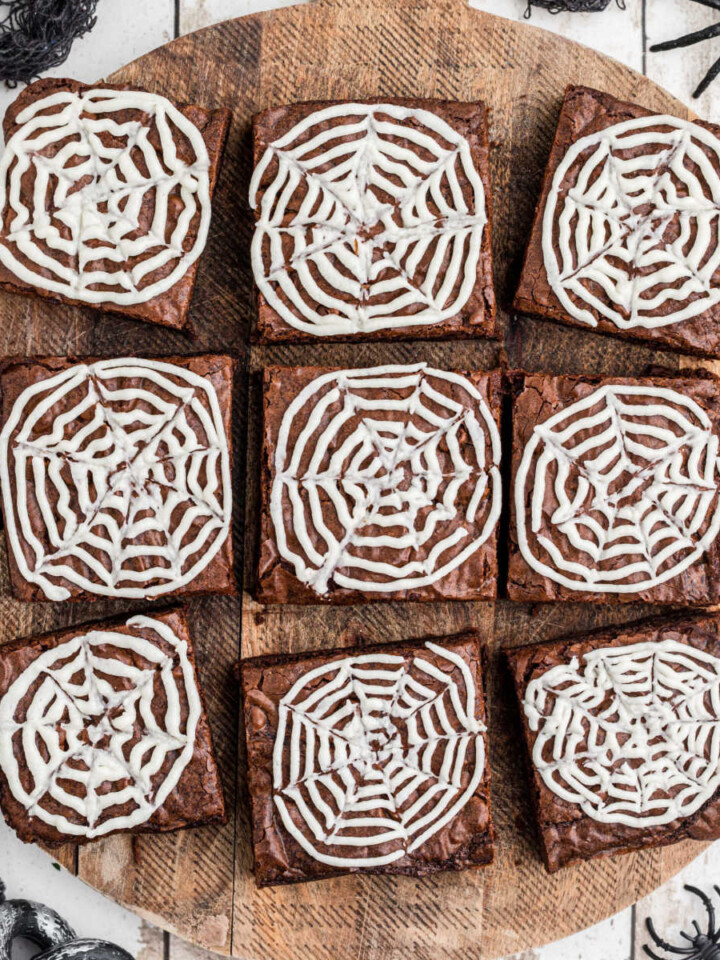
- Spider Web Brownies
- Halloween Chocolate Covered Strawberries
- Zombie Cupcakes
- Halloween Grilled Cheese
- Halloween Jungle Juice Recipe
- Nutter Butter Ghosts
🧊 Storage
Once the Mummy Oreos have hardened you can store them in an airtight container at room temperature for up to 1 week.
💡 Tips
Expert Tip: Save on the candy melts, don't dip the cookies and just apply the eyes using a dab of the melted candy on the back of the eyes to attach to the cookies then pipe the 'bandages' over the dark cookies. It can give a different look with the same idea.
👩🍳 FAQs
If you place the baking sheet into the refrigerator for a little while it will speed up the setting time.
You could use any cookie you like. Nutter Butter looks great!
If you’ve tried this Mummy Oreos Recipe or any other great recipe on my site, let me know in the comment section below, how it turned out, we love hearing from our readers!
If you love this recipe please give it 5 stars! ⭐️⭐️⭐️⭐️⭐️
You can also follow me on PINTEREST, FACEBOOK and INSTAGRAM to see more amazing recipes!
Mummy Oreos
Video
Equipment
Ingredients
- 15 Oreo Cookies
- 30 Candy Eyes
- 12 Ounces Bright White Candy Melts
Instructions
- Add the candy melts to a small mixing bowl and heat for 30 seconds at a time, stirring in between to ensure you don't overcook and scorch the candy melts.
- Once you have reached a dippable consistency, take an oreo cookie, tap any crumbs off, then dip into the candy coating as much as to the tip of your thumb.
- Lay the cookie down on a baking sheet covered with wax paper, and repeat with the remaining cookies.
- Allow the cookies to firm up (placing in the refrigerator will speed this up. About 30 minutes is ok.
- Give the candy melts another blast in the microwave to loosen them up again, then dip the other side of the oreo cookie into the coating.
- Lay down on the wax paper again.
- While the cookies are still setting place the candy eyes onto each cookie.
- Take the remaining candy coating and pour into a piping bag (or a resealable bag then snip the corner). Using a small tip, or just snip the corner, drizzle over each cookie to represent the bandage of a mummy.
- Allow to finish hardening before serving.
Notes
Nutrition
Sign Up for my emails and never miss another recipe!
I'll never share your email, or send you spam. Pinkie Promise!










Comments
No Comments